As your abdominal muscles get progressively stronger, you might find that traditional exercises no longer provide you with an appropriate challenge, and more importantly, an intense enough stimulus to drive further strength and muscle growth.
When this occurs, there are a few routes to take in order to increase difficulty once more. With traditional weight training, this is done by adding more weights, but when it comes to abdominal workouts, adding extra weight can increase overload of your back and increase risk of injury.
That is why most athletes choose to go a separate way and introduce variations on traditional exercises, these create a new stimulus the muscle can adapt to, without compromising health and longevity. In this case, we’re talking about a variation on traditional planks.
Once they have mastered the traditional plank, most people begin performing weighted planks. However, as I said above, these increase risk of injury and due to the awkward position it’s quite complicated to get into the starting position without assistance.
A better, safer approach is to begin practicing the star plank.
What Is a “Star Plank”?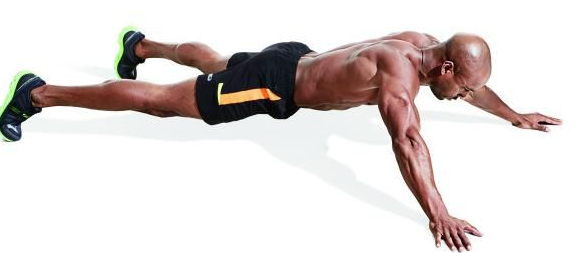
As I said above, the star plank is a variation on traditional planks in which the position you take resembles a star, hence the name. By changing the weight distribution it introduces a higher level of difficulty, not just to the abdominals, but other muscles as well.
Due to the higher degree of difficulty, the star plank is not a beginner exercise, and it is commonly used by intermediate to advanced athletes. In recent years, it has gained popularity among calisthenics and crossfit circles.
How to Do a Star Plank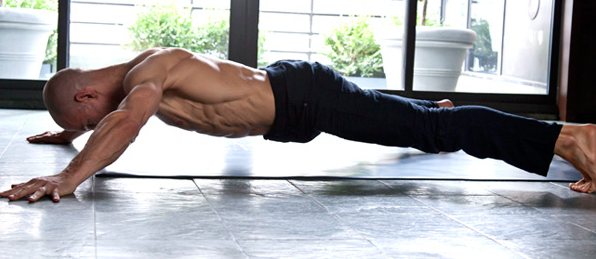
Here is how to do a Star Plank, step-by-step.
Step 1
Begin the exercise by lying on the ground on a push up position, with your arms fully extended.
Step 2
Continue by slowly “walking” your arms and legs outwards until your limbs form star or x shape. Keep in mind that the further out you go, the harder the exercise will be.
Step 3
Keep your core in a flat line from your head to your toes, brace and hold the position for the time required, then bring your arms and legs back towards your body.
Like this video:
Benefits of The Exercise
A full-body exercise like the star plank will yield a ton of benefits, a few of these benefits are listed below.
Increased Difficulty
The most obvious benefit to performing the star plank is, of course, the increased difficulty. Anyone who has become proficient in traditional planks and is no longer getting as much benefit from it can switch to the star plank to compensate. And anyone who wants to grow muscles should also consider star planks.
In fact, it is not uncommon for people to last only 10 to 20 seconds when they begin practicing this exercise, even for those with intermediate to advanced core development. If you want to workout 7 days a week and add this to your routine be sure to have the proper physical readiness, so that you benefit the most from your routine
Shoulder and Chest Involvement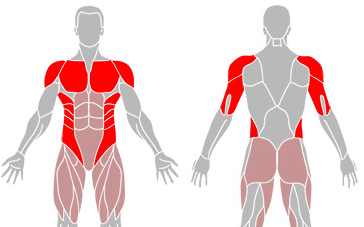
Due to the outstretched arms, the star plank requires athletes to hold an isometric position not just with their core, but with their shoulders and chest as well, which can lead to incidental shoulder and chest development.
No Need for Equipment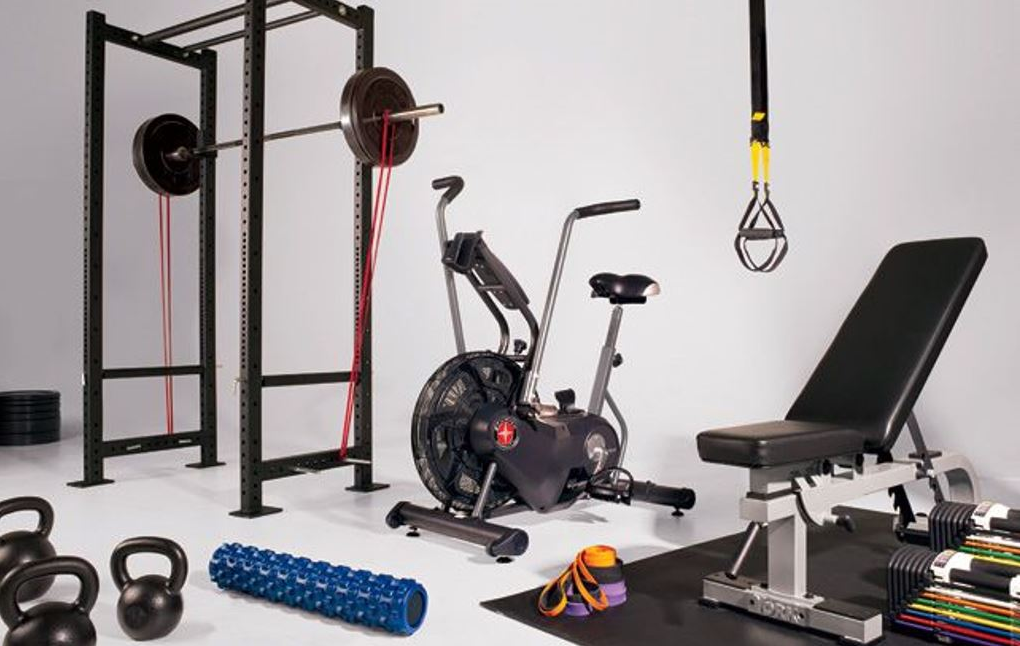
Unlike other plank variations, the star plank requires no equipment at all to perform, which makes it an ideal progression path for those who work out alone and have no one to place a plate on their backs, or those who don’t attend a commercial gym and have no equipment available.
Even though you can get a pair of cheap dumbbells and they can perform tons of exercises with them and there are a lot of places to buy dumbbells but I like the fact that star planks give a full-body workout without needing a pricey full-body workout machine or even dumbbells.
Muscles Worked
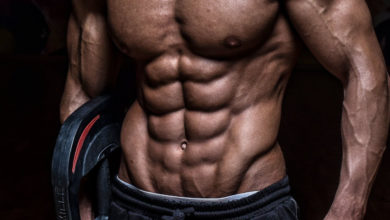
Core/Abdominal Muscles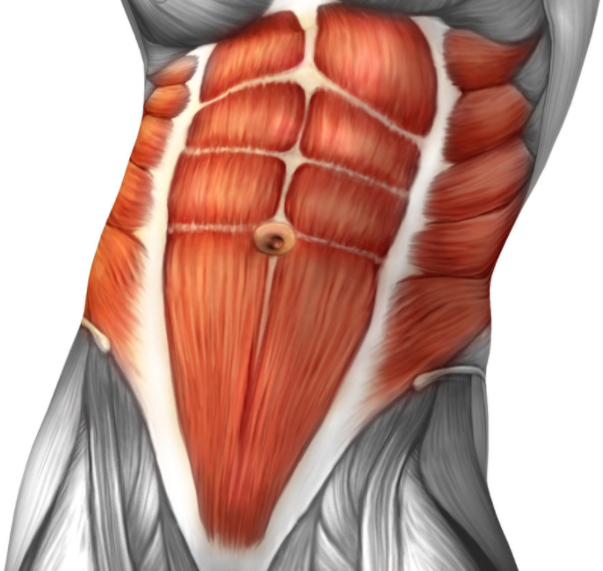
The main muscles worked during these exercises are your abdominals and core muscles as they remain contracted to hold up your body. Other easier exercises you can try to target your core are roman chair sit-ups and standing oblique crunches.
Chest/Pectorals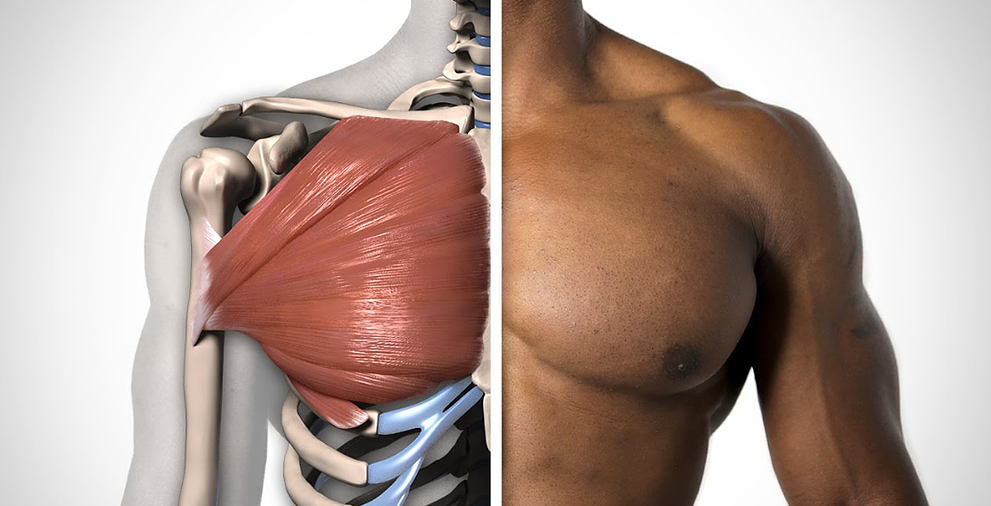
Pecs work as assistance muscles on the star plank, holding up part of the weight. While the activation is much less than the core, pec development can occur, as most athletes do not train their chest in isometric exercises. Easier exercises to target your chest include barbell bench press and dumbbell floor press.
Shoulders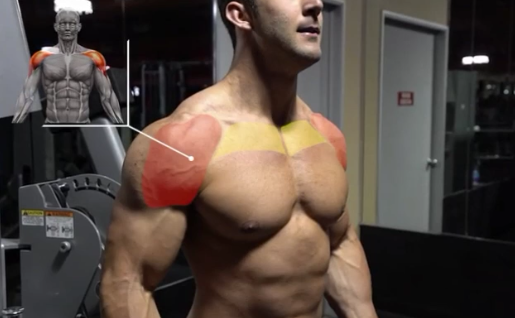
Much like the chest, the shoulders will also provide assistance in holding up the torso. In some cases, athletes who don’t have enough strength in their shoulders might not be able to hold the position for long enough to properly train their abs. Other somewhat easier exercises you can do to target the shoulders are the underhand front raise, the seated tricep press (more advanced), and the rear delt fly.
Tips to Get the Most From This Exercise
Here are some general tips that will help you get the most out of star planks.
- If you feel your form is breaking down, go back to the starting position, rest and start over.
- Be conservative with how far out you spread your limbs, there’s no point in stretching as far as possible if you can barely hold the position
- Work on your mind muscle connection to your abdominals, don’t just hold the position, actively contract your abs for better stimulus.
- If your shoulder and chest muscles are limiting the amount of time you can hold yourself in a star plank, increasing isometric work on those muscles can directly influence your star plank.
Common Mistakes Beginners Make During the Star Plank
There are some mistakes that beginners fall for when doing star planks, we some of them below.
Keeping Their Hips Too High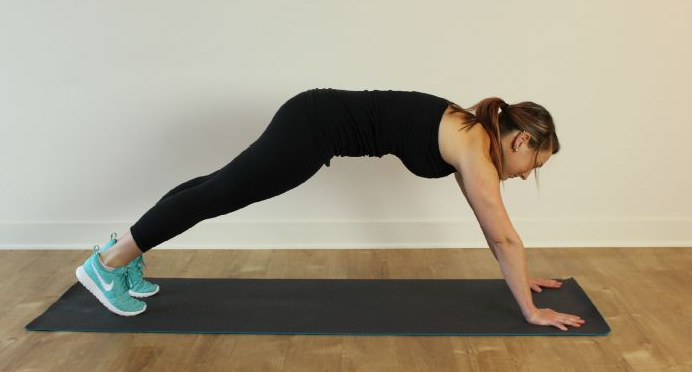
It is very common to see beginners inadvertently raise their hips past their core. Most times it happens without them noticing, as their body subconsciously tries to find a more “efficient” position to bear the burden of the exercise. This will make the exercise useless, as the abdominals will not be activated.
The best way to tell if this is the case with you is having someone watching you, or recording yourself in case you’re alone. There should be a straight line from the top of your head to your hips and feet. A good rule of thumb is that if you don’t actively feel your abs contracting, you’re probably doing it wrong.
Overextending Their Limbs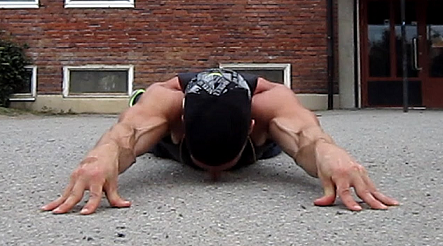
In an effort to imitate their coaches, or tutorials they see online, most beginners extend their limbs as far as possible. However, they are not taking into account that coaches are proficient in the star plank, that’s why they can go that far.
Most beginners who do this will find that they can barely hold themselves up before they have to go back to the starting position. What you should do instead is begin with a more conservative position, and slowly progress towards full extension as you become more proficient in the exercise.
Going to Failure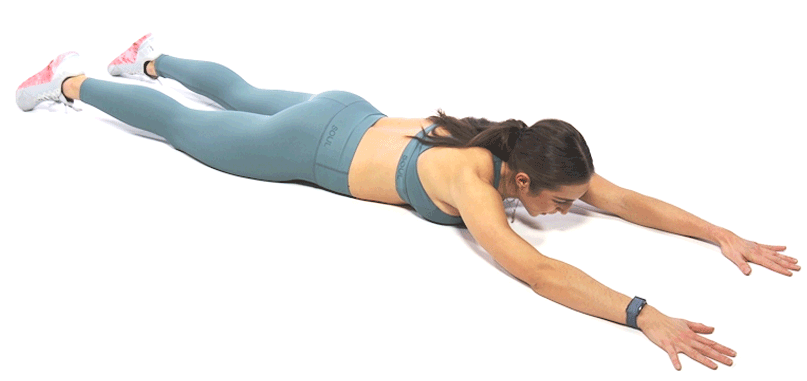
A mistake that causes no harm to abdominal development in itself, but can lead to minor injuries like busted lips or noses. It’s not uncommon for people to hold the position too long and then not be able to return to the starting position.
When this happens, they usually fall flat to the floor which is not harmful outright. However if you don’t mind your head position when you do so, you can fall face first and hurt yourself.
Similarly, holding the plank for too long can cause form breakdown and reduce the effectiveness of the exercise, so it’s better to rest for a few seconds, reset your stance and start over.
Alternative Exercises
Side Planks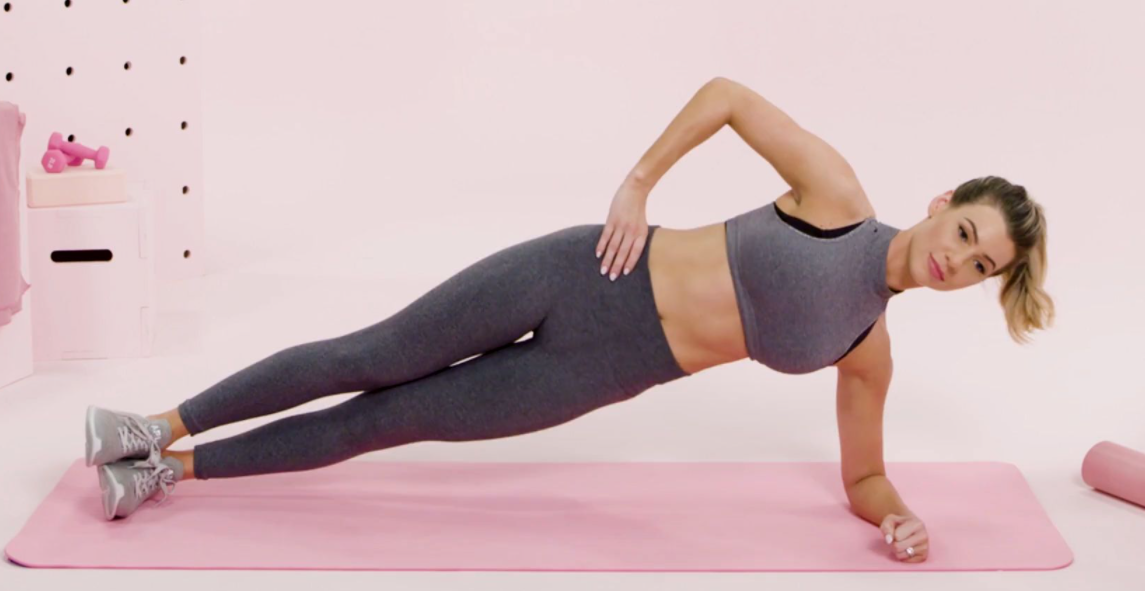
A great exercise for those looking to focus more on their obliques, which are usually not as engaged during core exercises.
Step 1
Lie flat on your side, with your legs extended and stacked from hips to feet. Place your elbow on the ground directly below your shoulder and ensure your head and spine form a straight line. Your other arm should be in line with the rest of your body.
Step 2
Lift your hips and legs so that only your feet and elbow make contact with the ground. Your body should form a straight line, diagonal to the ground. Brace your abdominal muscles to prevent any sagging and hold the position for as long as needed.
Step 3
Once you’ve held the position for the desired time, return to the starting position, switch sides and perform the exercise again. It should be performed the same number of times on each side so as to prevent imbalances.
Like this video:
Extended Plank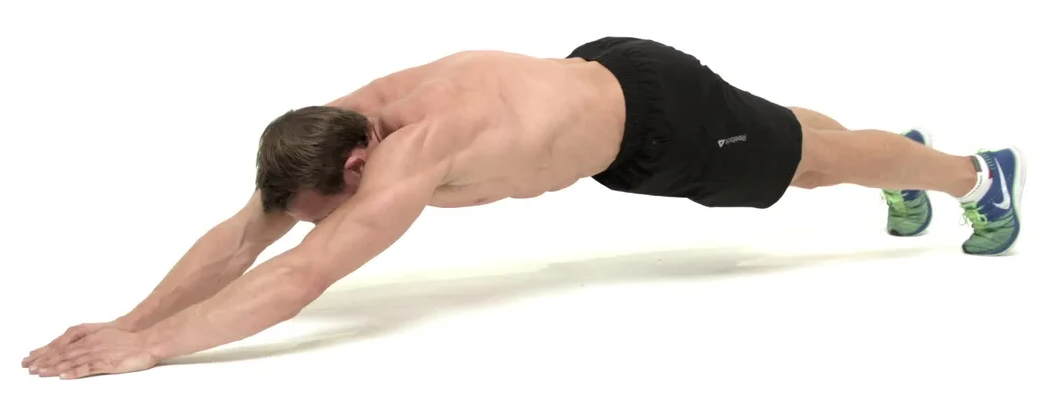
A similar exercise to the star plank, but slightly easier to perform. Due to the lowered difficulty, it can be used as a stepping stone between traditional planks and star planks.
Step 1
Begin the exercise by lying on the ground on a push up position, with your arms fully extended.
Step 2
Continue by slowly “walking” your arms forwards until your hands are 6 to 8 inches from your head. Keep in mind that the further out you go, the harder the exercise will be.
Step 3
Keep your core in a flat line from your head to your toes, brace and hold the position for the time required, then go back to the starting position.
Like this video:
Optional Step
While performing the extended plank, raise your left leg and right arm up. Hold them up for a few seconds and then switch to the opposite arm and leg. This will reduce the load your arms are holding and put further strain on your abs.
Related Readings:
- I Tried The One Punch Man Exercise, 100 pushups, 100 sit-ups, 100 squats for 30 days. Here Are the Results
- What 100 Crunches a Day Did for Me
- I Started Doing 100 Jumping Jacks a Day, Here Are My Results
- Australian Pull-Up – Complete Exercise Guide, Muscles Worked, & Alternative Exercises
- Best Tasting Meal Replacement for Breakfast
Ben Mayz
Hi there! I'm Ben, main author and chief editor at Fitlifefanatics.com. I have been obsessed with Strength Training and Fitness for 18 years now.
My passion for living a happy fit lifestyle is what made me realize that fitness is what I wanted for my future.
I went on to earn my Masters in Sports Training & Biomechanics.
My passion for Strength training & fitness and my love of helping others is what made me start Fitlifefanatics.
Here, myself, and a team of specialist aim to provide the most accurate, and actionable information possible in hopes to help foster the fitness community forward.
You can learn more about Fitlifefanatics on our About Page