Low Row Exercise: How it Works, How to Do It, how You can do it at Home — Without Machines!
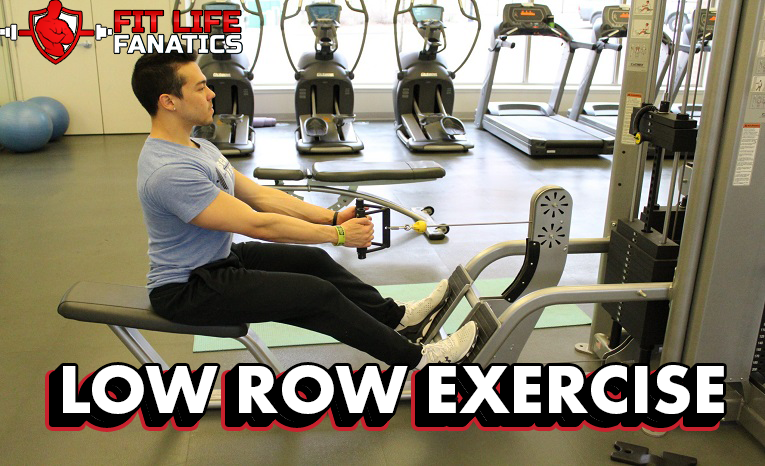
The low row is a simple but effective exercise for the back and arm muscles.
It helps build upper body strength and improves your posture. That not only helps you look better but helps you correctly perform other exercises and reduces your risk for injury.
In this article, we will take a closer look at the low row: instructions, benefits, and variations or modifications to help you adjust the exercise’s intensity and add variety to your routine.
What is a Low Row?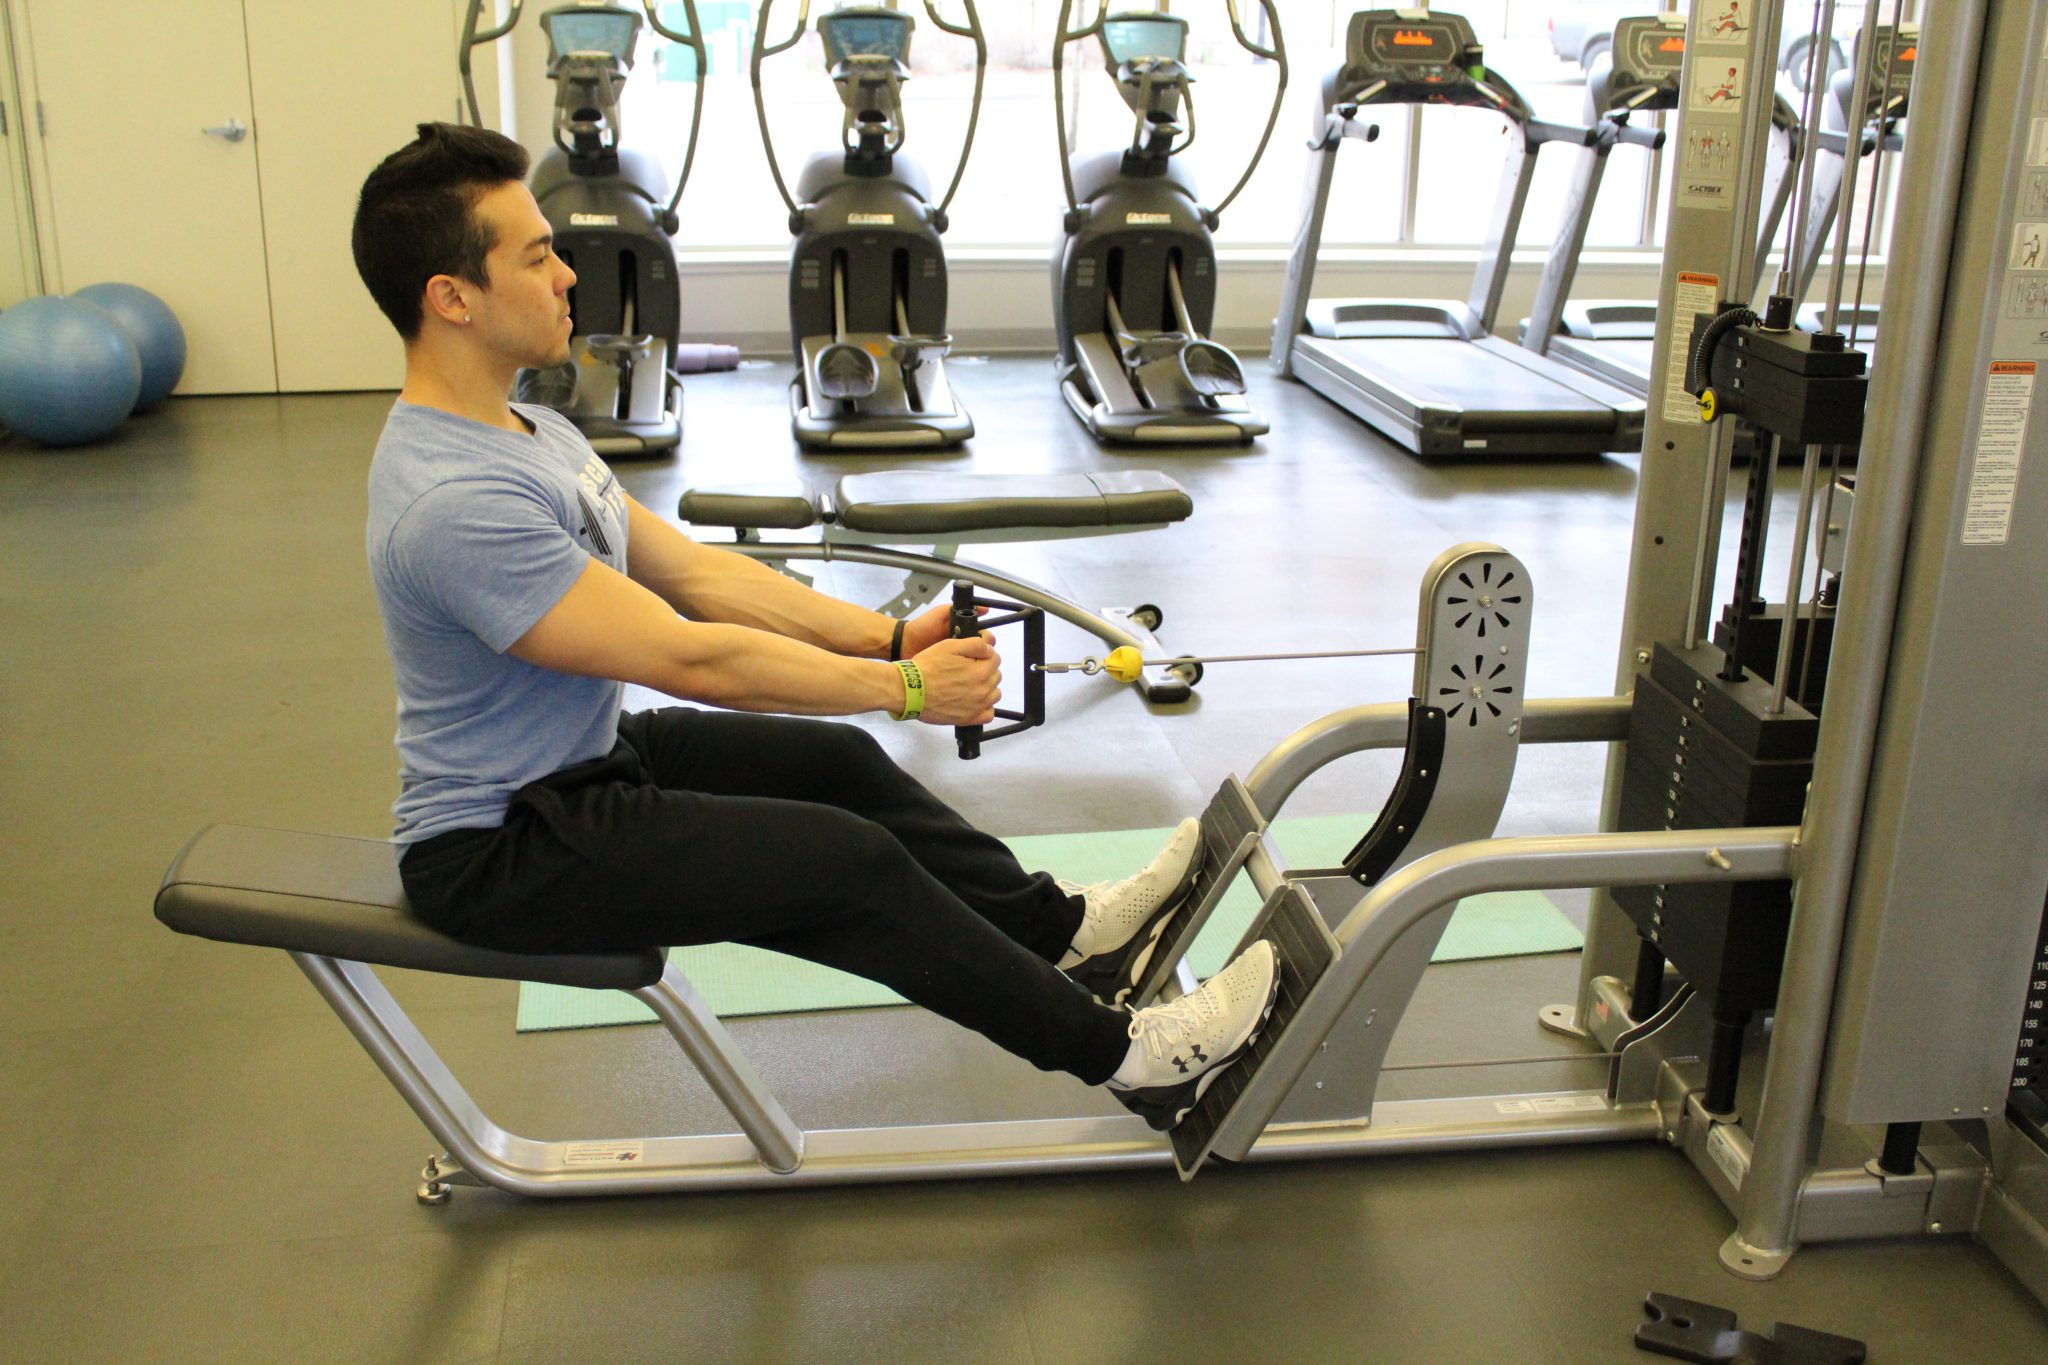
A low row is usually done on a seated row machine., also known as seated cable row machine.
This is a horizontal cable machine with weights that you can adjust according to your fitness level.
The weights are attached to a pulley with two over hand grip options. You sit on the bench in front of it, then pull the weights toward you.
- Adjust the seat so that your shoulders are at the same level as the machine handles.
- Sit on the bench with your knees bent. Some machines have footpads, but if you don’t see one, just place your feet flat on the floor.
- Extend your arms and reach for the handgrips.
- Inhale and brace your core.
- Exhale as you pull in the weights. Make sure to keep your elbows tucked in and your back straight. Hold the weight for one second.
- Inhale as you release the weight. This should be a slow, steady motion: extend your arms while you count from one to three.
One set of rows usually includes 12 to 15 repetitions.
Like this video:
How Does a Low Row Complement Your Workout?
The low row is a “pull-in” exercise – in contrast to the “push up”. Both rows and push-ups strengthen your back, but they activate a different set of muscles.
When you do a push-up, you use your chest, triceps and the back of your upper arms to lift your body away from the ground.
Your lower abdomen muscles and your quadriceps help maintain your balance and provide support.
The low row is the complete opposite. You are pulling your body away from the machine, using your biceps and your back.
While it also activates your core muscles, it’s the hamstrings and glutes (not the quadriceps) that give support.
In this way, low rows complement push-ups so you get a more complete workout. If you only do push-ups, you will have overactive chest muscles and underdeveloped back muscles.
This will lead to an imbalance of strength that can affect your training and form.
Depending on your fitness routine, you can do them on alternate days or on the same day.
What Specific Muscles Do You Use?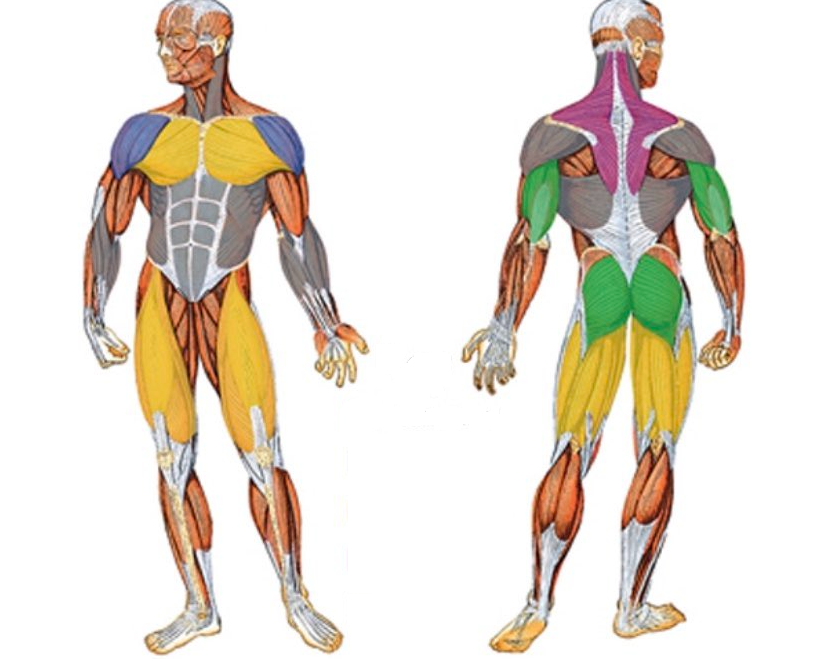
The low row uses several muscle groups. This includes:
- Middle back muscles (latissimus dorsi)
- Muscles between the shoulder blades (rhomboid muscles)
- Muscles in the neck, upper back, and shoulders (trapezius)
- Upper arm muscles (biceps brachii)
Normally, you will perform the low row with a narrow grip. But if you use a wide grip, you can achieve a different set of muscle gains:
- More focus on the arm muscles
- More focus on the smaller back
- Upper back (middle trapezius aka mid traps)
- Back shoulder (posterior deltoids)
- Muscles between the shoulder blades (rhomboids)
If you follow correct form, it will also strengthen the core muscles, which will work to maintain your balance as you perform each step of the exercise.
Other exercises that work the core include, T-Bar rows, Australian pull-ups, standing oblique crunches, and shrimp squats which is a more advanced exercise.
What Are the Benefits of Low Row Exercises?
Here we list some of the great benefits of the low row exercise.
Simple and Easy to Learn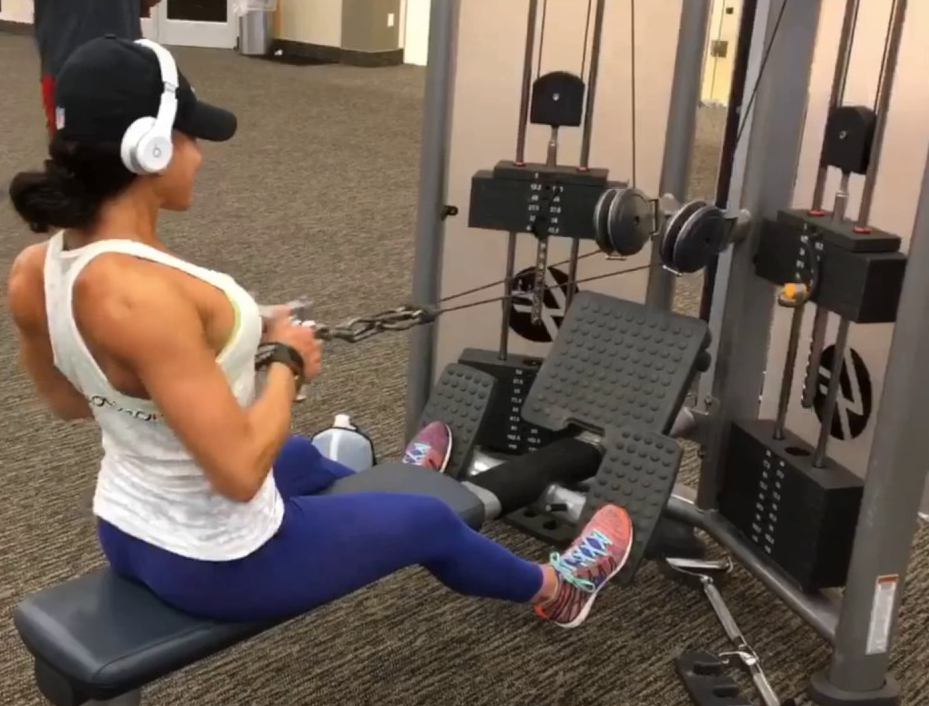
There’s a reason why many a personal trainer include low rows or seated rows for new gym members.
It is one of the simplest and most intuitive exercises.
Even if this is the first time for you to try strength training, the pulling motion is familiar and easy to execute.
It reminded me of other easy to perform exercises like the dumbbell floor press, rear delt flys, underhand dumbbell row, and rear delt rows.
Can Be Customized for Different Fitness Levels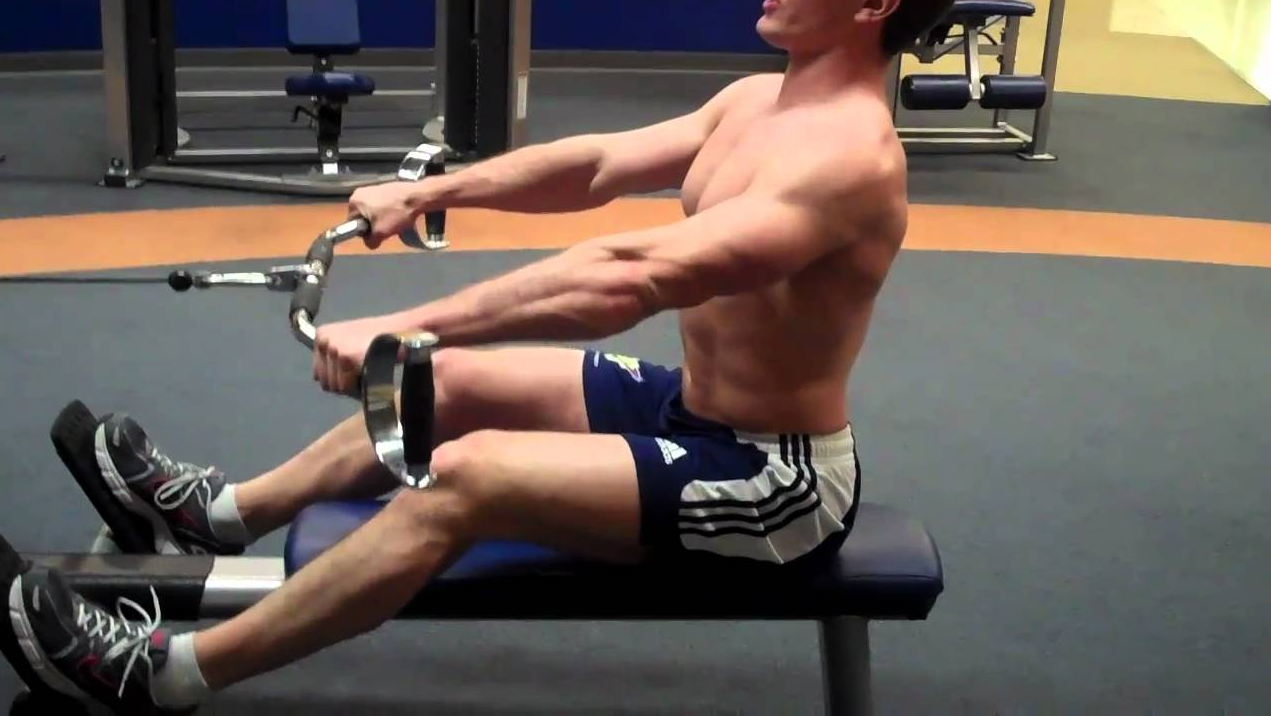
Beginners or those with injuries or health issues can start with very light weights. Those who are ready for more rigorous workouts can add more weight or modify the exercise to get dramatic results.
Strengthens Back Muscles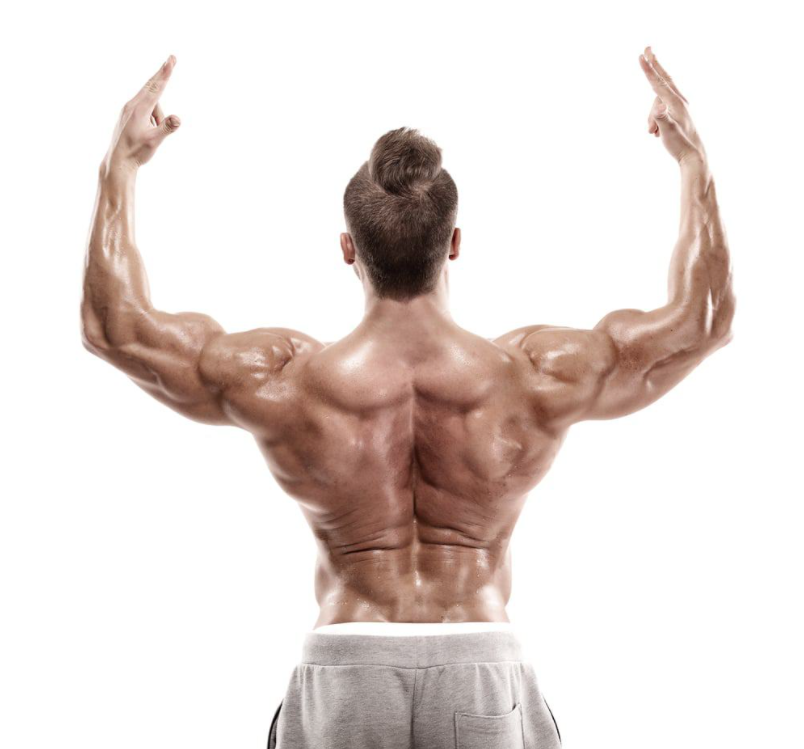
The low row exercise can strengthen back muscles and keep your spinal column properly aligned.
These both play a factor in daily tasks like lifting objects or housework, or jobs that have a physical component.
Works Several Muscles
While it primarily uses the muscles in the back, it also works the biceps, the thighs, and the core.
Gentle Enough for Rehabilitation After Injury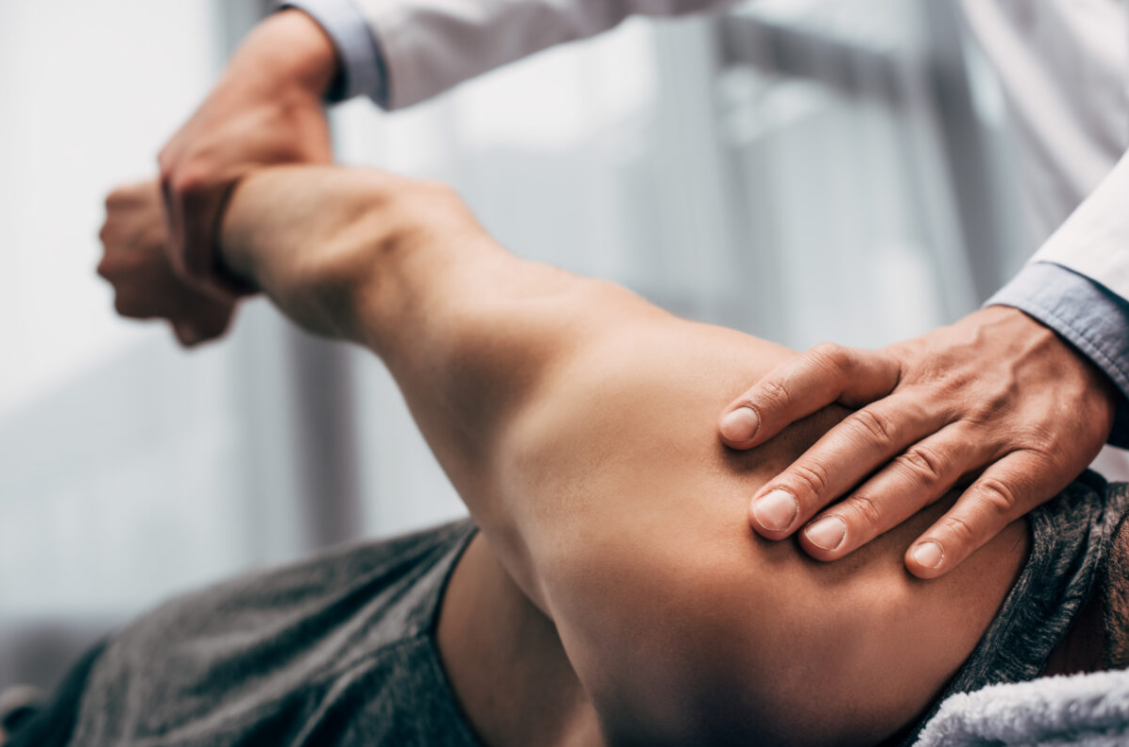
Unlike deadlifts and bent-over rows, the low row does not put a lot of stress on the lower back. That is why it is more suitable for people who have health concerns or are just starting their strength training.
Builds Width and Thickness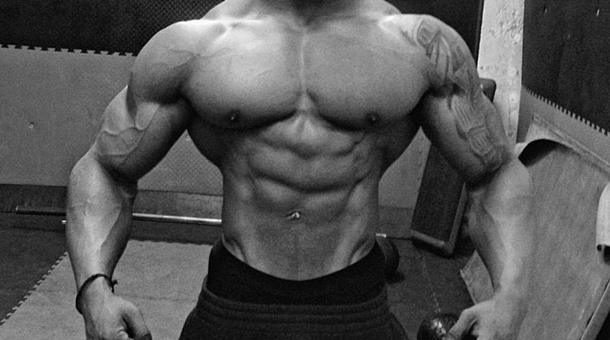
This exercise both broadens and thickens your back and shoulder muscles, to help you achieve your desired sculpted physique.
How Can You Prevent Muscle Strain and Injury While Doing a Low Row?
Low rows are safe and easy enough for beginners to do without much risk of injury. However, you do have to be careful if you have a history of shoulder or lower back pain, or are recovering from an injury. Be sure to get the clearance of your physical therapist or doctor.
But like all exercises, you need to make sure to have the right posture and the appropriate weight to avoid muscle strain during seated rows.
Maintain Posture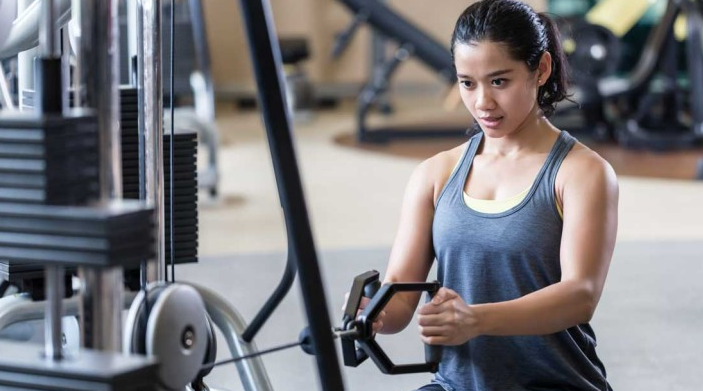
Keep your knees bent, your elbows tucked in, and your back straight.
Use Slow Motions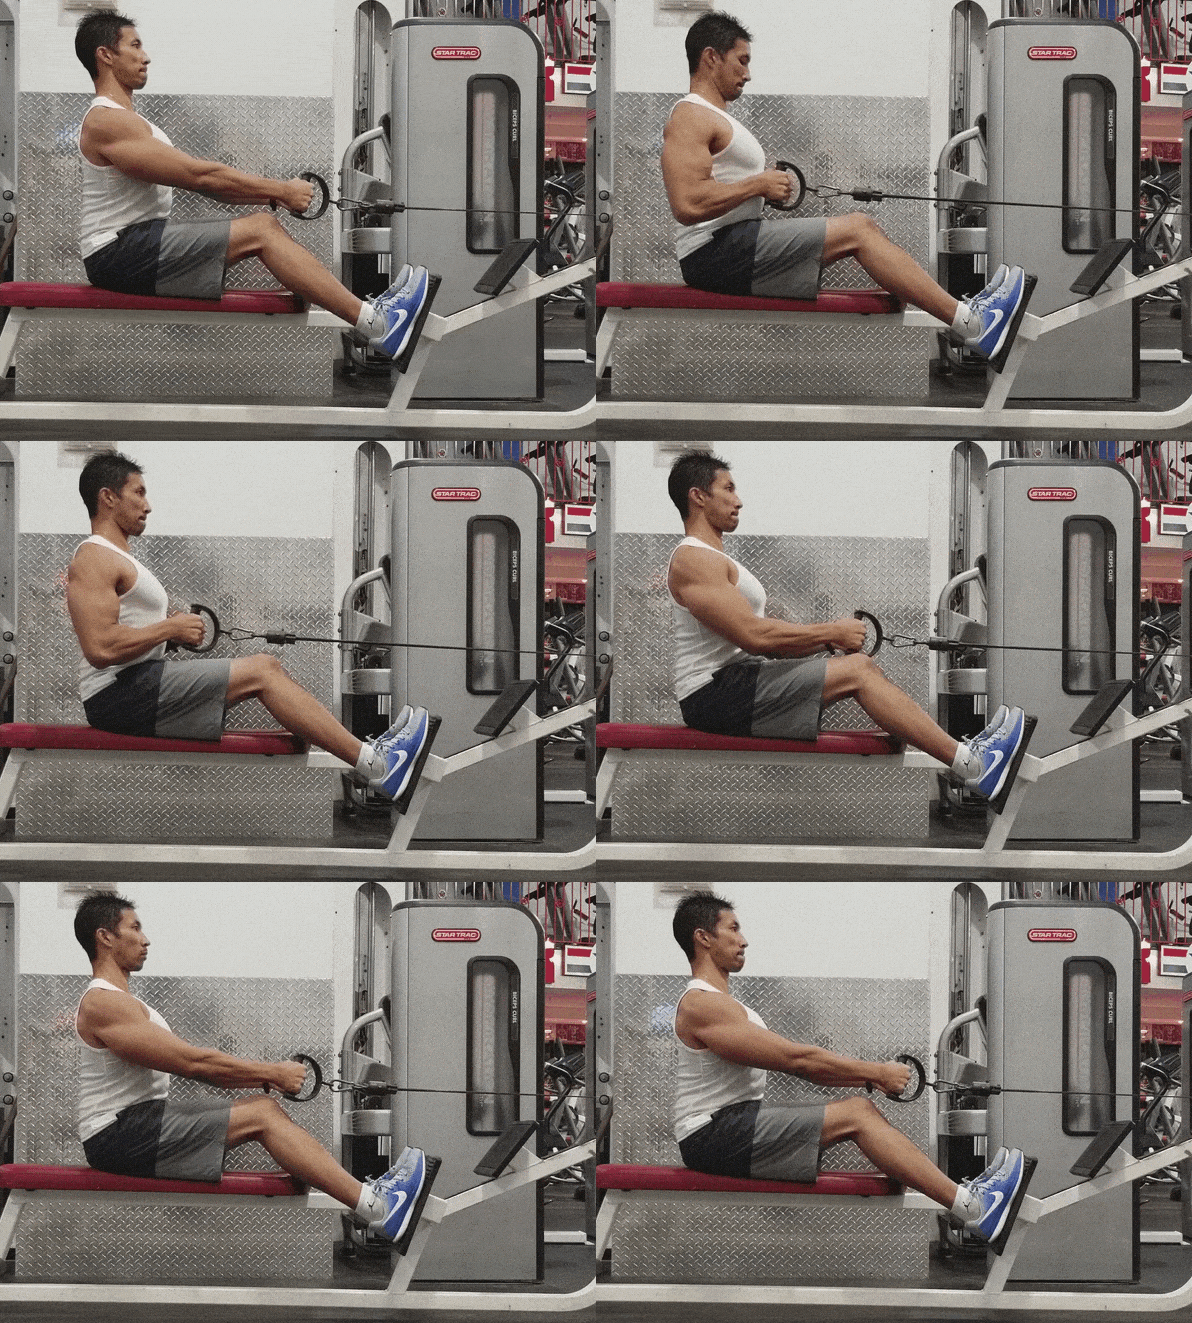
Suddenly jerking the weight or releasing it increases the risk of pulling a muscle or other injuries.
Don’t Force Yourself to Lift a Heavy Weight
Lifting a weight that is too heavy for your fitness level can injure your shoulder and back. If you wish to challenge yourself, increase the repetitions rather than overloading yourself with more weight.
Emphasize endurance under high tension instead of brute maximum strength.
What Are the Most Common Mistakes that People Make?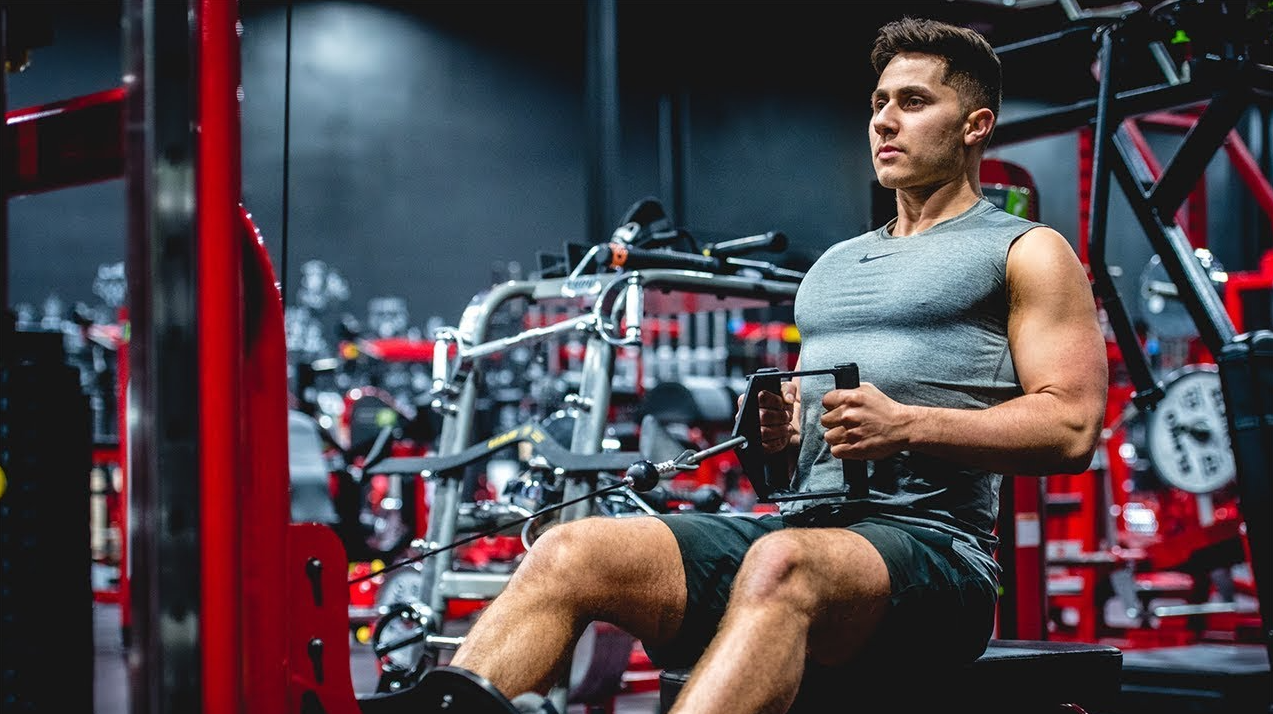
If you don’t execute an exercise properly, you will not be activating the right muscles.
That means you won’t reap the benefits—wasting your time and reducing your gains. You may even strain your muscle, and if you are lifting heavy weights, experience serious injury.
Don’t Hunch Your Back
Make sure your back is straight, not bent or rounded. If you want to increase your range of motion, you can slightly flex your hip.
Your back should be straight at all times, not bent. You can flex slightly at the hip to allow a full range of motion.
Don’t Shrug Your Shoulders
Make sure that you don’t pull up your shoulders towards your ears as you pull the weight.
Don’t Twist or Move Your Torso
Your arm muscles should be doing most of the work and motion. However, it’s instinctive to twist the torso or lean forward to compensate.
You have to consciously keep your torso still as you do the exercise. Try bracing your core for more stability.
Don’t Lock Your Knees
Keep your knees slightly bent. If you lock your knees, you will put more stress on your joints.
Don’t Crash the Weights
When you return the weights, keep your movements slow, steady, and purposeful. This trains the muscle improves your balance and prevents any strain.
Don’t Bounce
Maintain your posture throughout the exercise. Don’t bounce or lift your body as you pull or release the weight.
Don’t Do Partial Movements
You have to complete the movement to reap its full effect. So if you only partially extend your arm, or pull the weight only halfway, then you won’t get a good workout.
If you are unable to complete the full range of movement, you feel pain doing it or thereafter, or can’t properly execute the exercise without bouncing, leaning, or jerking the weight, that’s a sign that your weights are too heavy.
Decrease the weight so you get a wider range of motion.
You will actually get a better with reduced range of motion and low weight workout as a beginner, than lifting very heavyweights.
How Do I Modify the Exercise to Make It Easier or Harder?
If you are a beginner or have health issues that require a lower intensity exercise, start with light weights and low repetitions.
You can then increase the intensity as you become stronger and more familiar with the movements to your desired number of reps.
If you are looking for variety, or want to increase the difficulty level, here are some things you can do.
Change Your Grip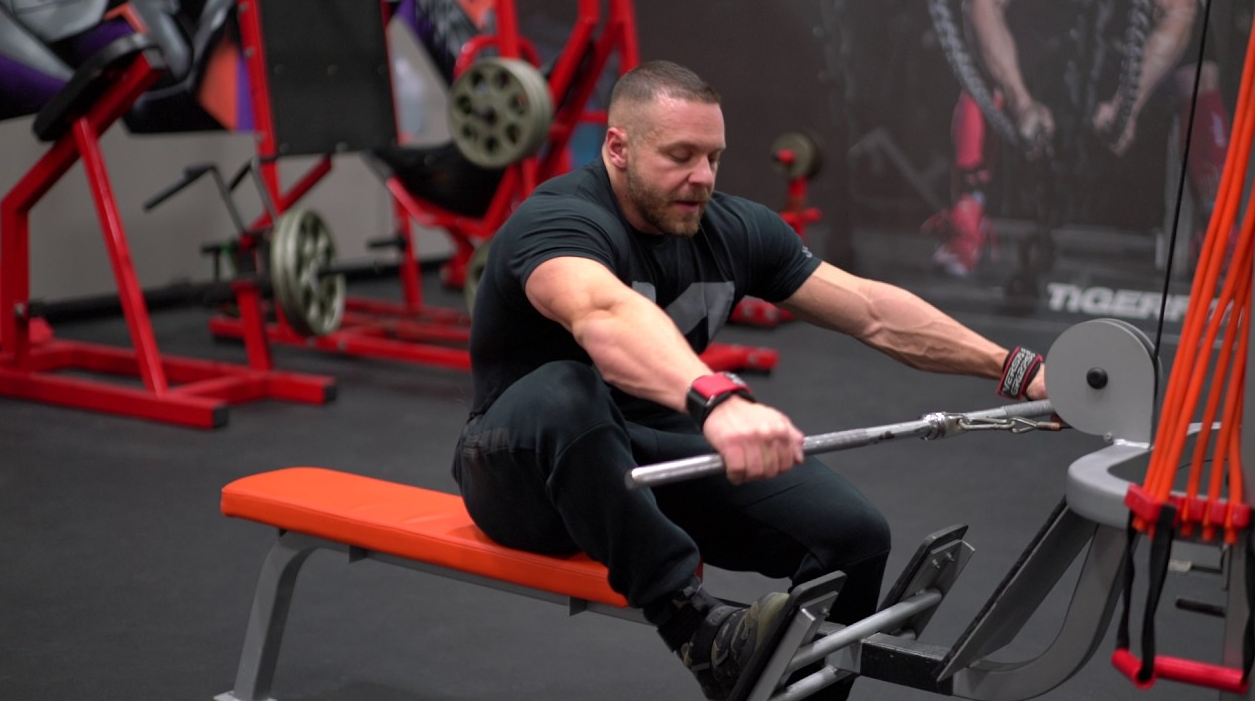
The position of your hands can help target other back muscles or make your biceps work harder.
Do a Single-Arm Row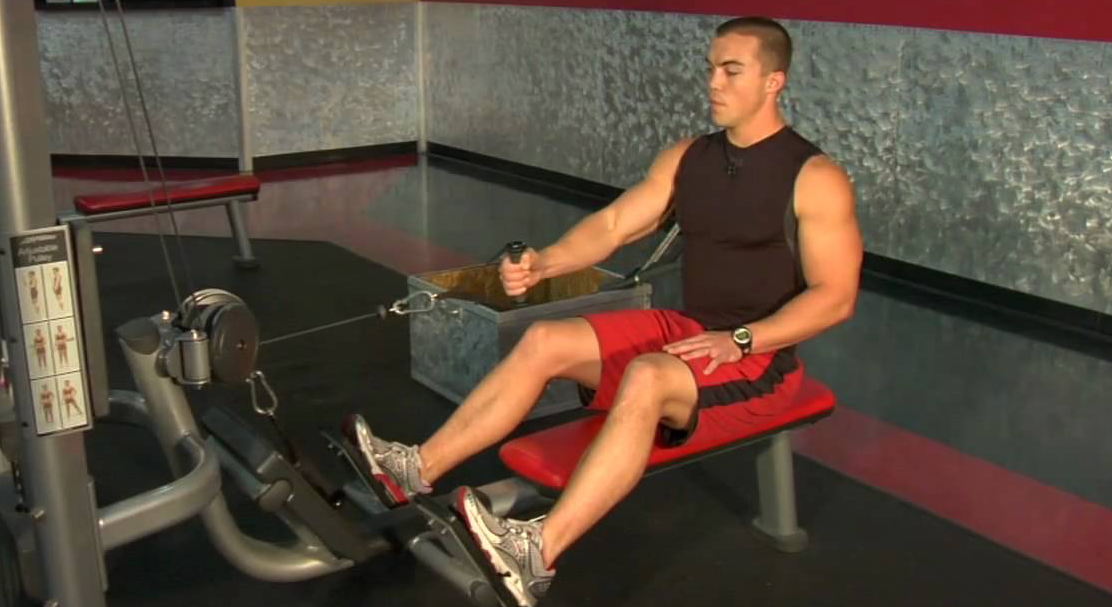
Instead of using both arms to pull the two handles, keep a hand free on one side, and use the other to pull the weights toward your lower torso. This can help train a “weaker arm/leg” and give your core muscles a much stronger workout.
Be sure to avoid twisting your body to compensate.
Move the Chest Pad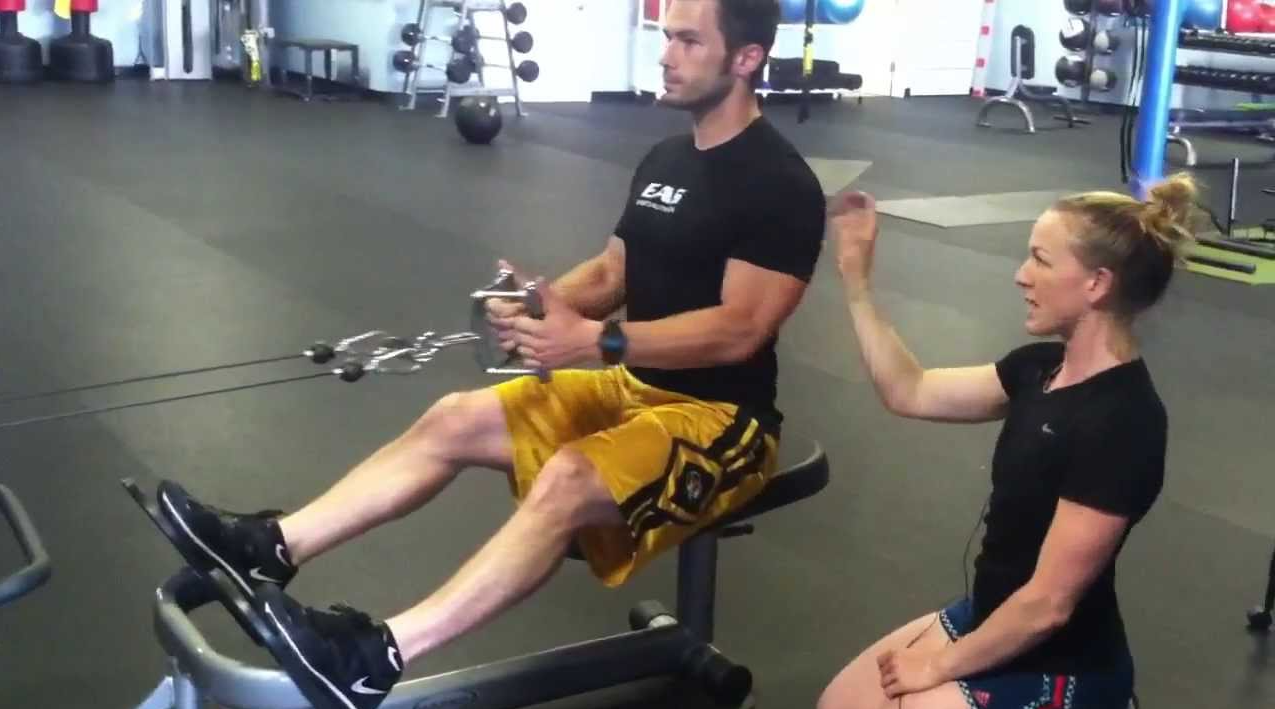
Adjust the chest pad so it is farther away from your body. Since you get less support, your core muscles and trunk have to work harder to maintain balance and posture.
Extend the Pause and Return
As mentioned earlier, low rows are excellent for increasing endurance under high tension. To challenge yourself, after you pull the weight, increase the length of the pause from 3 seconds to 5 seconds.
Then, release the weight more slowly, so the muscles have to carry the weight for a longer period.
What Are Some Low Row Variations?
Bored of doing the same low row exercises every day? Try these simple variations.
Standing Low Row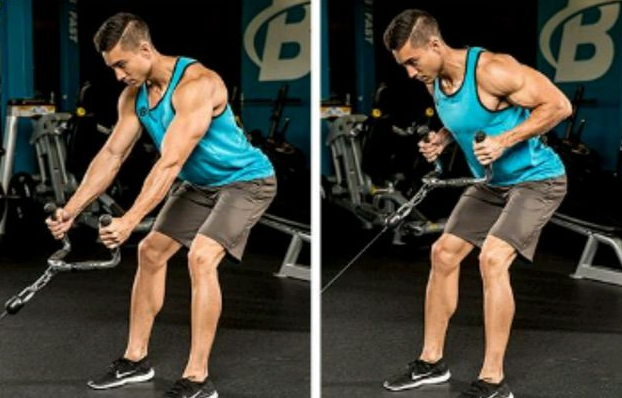
Instead of pulling the rope in a seated position, you stand in front of the machine. Bend the knees slightly, then pull the handles towards your midsection.
As you pull, slowly bend your elbows and spread the handles as far and wide as you can.
You will feel the pinch in your shoulder blades. Then, slowly relax your elbows to return to the original position.
Dumbbell Row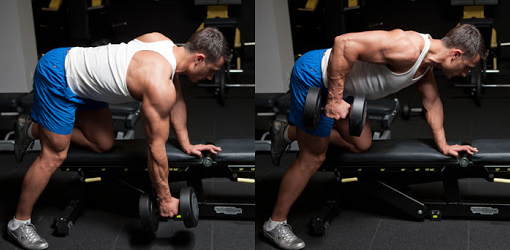
If you don’t have a machine at the gym or are working out from home, you can perform low rows using a pair of cheap dumbbells.
Stand straight, with one dumbbell in each hand. Keep your feet positioned shoulder-width apart.
Then, slightly bend your knees and lean forward. You will look like you are making a slight bow.
Keep your back straight and your arms fully extended. Then, contract your back and bend your arms, as you pull the dumbbells towards your rib cage. Pause for 3 to 5 seconds.
Slowly lower the dumbbells to the starting position.
One-Arm Barbell Row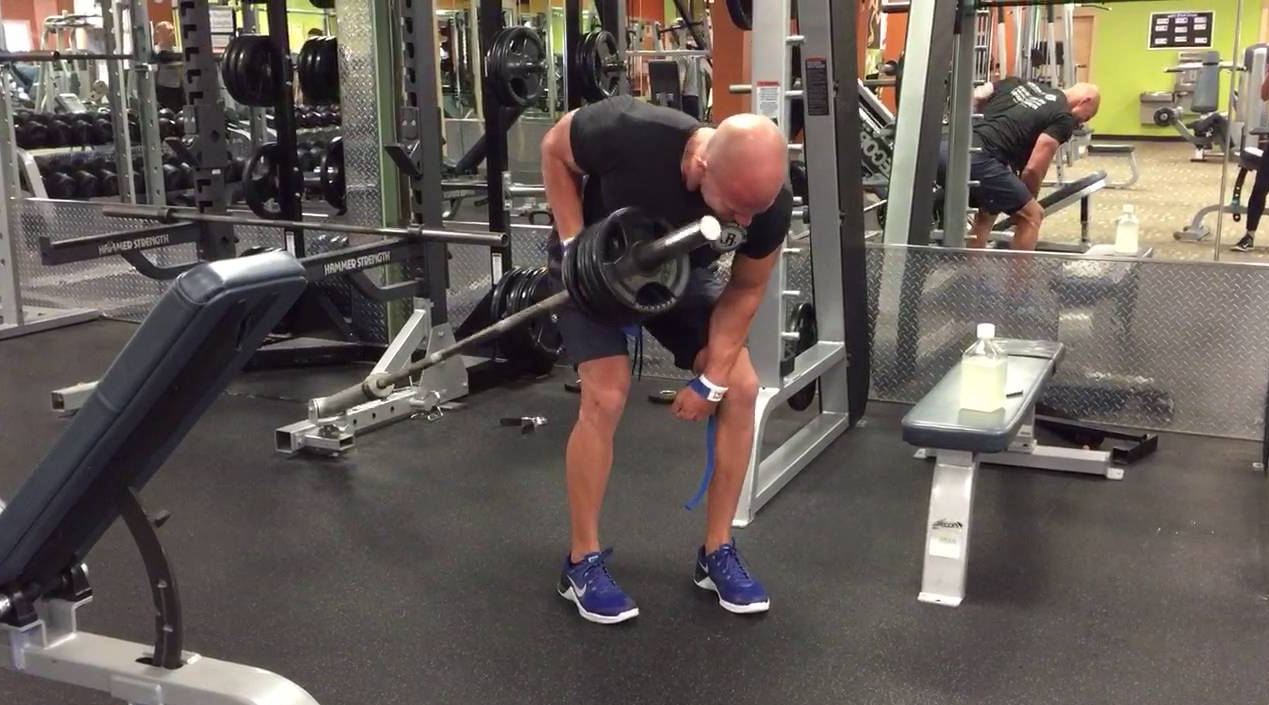
This exercise needs a heavy dumbbell and a bench that you can lean on.
Place your left leg on the bench, then do a full stretch forward as far as you can so your upper body lies parallel to the ground.
Then, with your right hand, reach for the dumbbell and lift to your chest.
Make sure your back is straight and your chest is still. You should be using your back and shoulder muscles to lift the dumbbell.
Do 10 to 15 repetitions before switching to the other arm and leg.
Meadows Row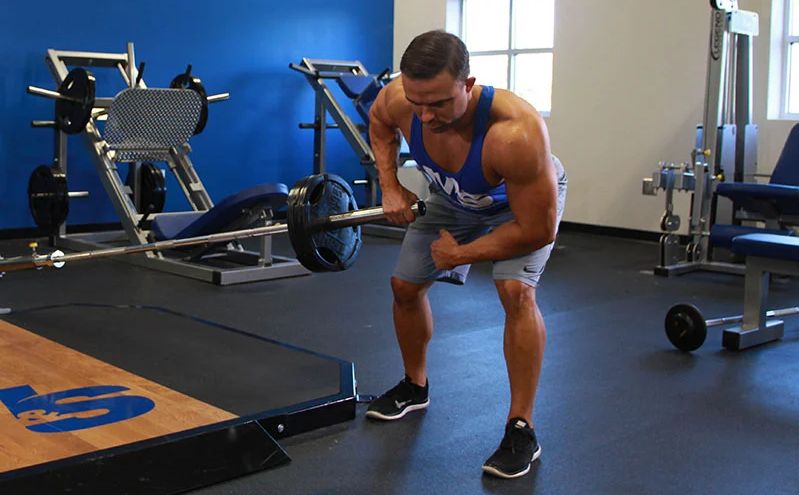
You will need a T-bar or a landmine to do this exercise.
Stand with your right foot perpendicular to the T-bar. Bend over from the waist—keeping your back straight—until you can get the end of the bar with your left hand.
Raise the bar with your hand, slowly bending your elbow. You can lean your other palm against your thigh for extra support, but you should be engaging your abdominals to improve your balance.
Hold this position for 3 to 5 seconds before lowering the weight back down. Complete 10 to 15 repetitions before switching to the other arm.
Get High Gains from the Low Row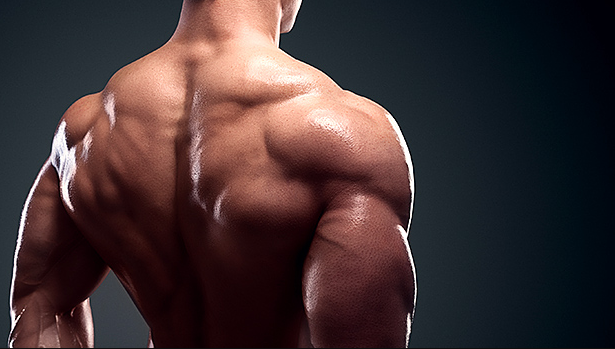
The low row exercise should be part of any strength training routine. This simple exercise can benefit both the beginner who needs stronger arm and back strength, or serious bodybuilders who want to have bigger broader back and shoulders.
While a low row is typically done with a machine at the gym, you can use the dumbbell variations to achieve similar results at home.
So wherever you go, you can row.
Related Readings:
- Underhand Front Raise – Complete Exercise Guide, Muscles Worked, And Alternatives Exercises
- Dumbbell Pullover: How To, Muscles Worked, Variations, And Alternative Exercise
- Roman Chair Sit-ups – Beginner Guide – How to, Muscles Worked, Alternative Exercises
- Seated Tricep Press: Exercise Guide with Video Demonstration, Muscles Worked, & Alternative Exercises
- Smith Machine Deadlift: How To (Video Demonstration), Benefits, Mistakes, & Alternative Exercises
- Pendlay Rows: How to, Variations, Benefits, Muscles worked, and Alternative Exercises
Ben Mayz
Hi there! I'm Ben, main author and chief editor at Fitlifefanatics.com. I have been obsessed with Strength Training and Fitness for 18 years now.
My passion for living a happy fit lifestyle is what made me realize that fitness is what I wanted for my future.
I went on to earn my Masters in Sports Training & Biomechanics.
My passion for Strength training & fitness and my love of helping others is what made me start Fitlifefanatics.
Here, myself, and a team of specialist aim to provide the most accurate, and actionable information possible in hopes to help foster the fitness community forward.
You can learn more about Fitlifefanatics on our About Page
